1 - Zoom - in transition
2 - Advanced camera
3 - Connected dots using whip tool
4 - Spliced text
5 - Expressions
6 - Tracking: Beam between fingers, 3D Tracking
7 - Shield effect
8 - Water 2 ice
9 - Glitch effect
2 - Advanced camera
3 - Connected dots using whip tool
4 - Spliced text
5 - Expressions
6 - Tracking: Beam between fingers, 3D Tracking
7 - Shield effect
8 - Water 2 ice
9 - Glitch effect
TRANSITIONS
Zoom-in transition
1 - import footage and animate scale, position, opacity (100 - 0) over 1s to create zoom in effect
2 - enable motion blur (also check the blur checkbox)
3 - import photo above and animate its opacity (0 - 100) and position
2 - enable motion blur (also check the blur checkbox)
3 - import photo above and animate its opacity (0 - 100) and position
CAMERA
23.8.18
Advanced Camera
1 - create 3 circle on separate layers, toggle switches
2 - check cube checkbox
3 - layer new camera - 2 nodes
4 - change view to 2 views - horizontal
5 - bring one circle closer by editing Z position
6 - camera - depth of field ON
7 - change aperture to 1000,
8 - and animate camera Z position (-3000 to -6000)
Animation - keyframes assistant, ease ease
https://www.youtube.com/watch?v=zgMHWFolli8&t=949s
Background animation
1 - import background photo and logo above and turn on 3D layers
2 - separate camera position values and animate from changed back to default
1 - import background photo and logo above and turn on 3D layers
2 - separate camera position values and animate from changed back to default
INTROS
22.8.18
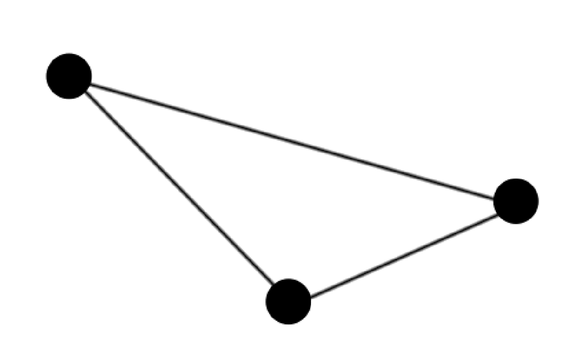
Connected dots
1 - new composition, 3 circles on separate layers
2 - center their anchor points (Y - Pan Behind)
3 - P, alt + click stopwatch and write wiggle(1, 400)
4 - new Solid (cmd + y), effect - generate - beam (black, width 100%)
5 - alt + click starting and ending points, drag with whip tool (starting point - circle 1 position, ending - circle 2 position)
6 - duplicate the solid and change start and end values
so: beam 1: start c2, end c1, beam 2: start c3, end c1, beam 3: start c3, end c2
22.8.2018
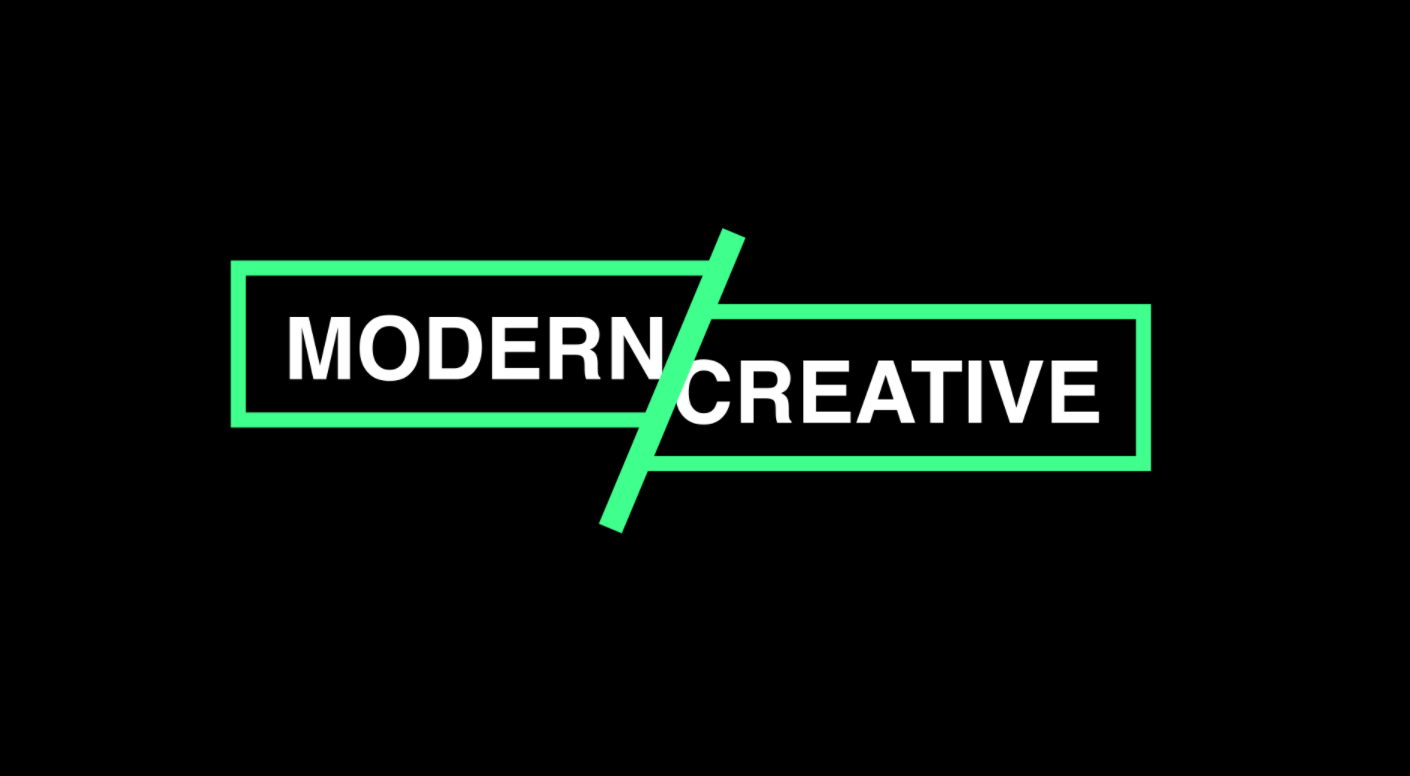
Spliced text
Spliced text
1 - create Main and Text compositions, type text, open Main and drag text into main
2 - create green rectangle around the text, click add -> Trim path
3 - animate its end property from 0 to 100 over 1s, and offset -90 to 0 over 1s (ease in and edit speed graph), click
4 - animate Text position fly to to the rectangle from out
5 - create new gray rectangle, drag under line (layers: line - M - Text)
6 - click Text - Alpha matte M
7 - create green line (Stroke) and animate it through center of the rectangle, add Trim Path, and animate from 0 (3s) to 100 (4s)
8 - create new adjustment layer, (R) and rotate it to match the left side of slied image
9 - add transform to it, hit position keyframe, drag to desired position and change order to: Stroke, R, Line, M, Text
10 - select all layers -> pre compose, crop to where animation ends, duplicate
11 - click first - Time reverse, drag in time behind the first :) done.
SRC: https://www.youtube.com/watch?v=I7kBf8q8EB8&list=PLgXLFndHG444Ps96WKlAmpjOL5WwcLI6M&t=26s&index=28
29.7.2018
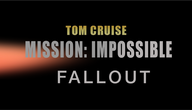
it is just few days before Mission: Impossible - Fallout hits theaters. So lets make a simple intro in the style of this famous franchise.
...
...
1) draw titles in Photoshop and import them to after effects layer by layer
2) write fallout text and animate squazze animation by clicking arrow on text layer,
3) hit animate button and click tracking
4) move time few seconds forward and increase tracking (value before and after)
5) click stopwatch move back and decrease it normal value
6) animate the position back to center you text again

EXPRESSIONS
Expressions can be used to animate without keyframes. To access expressions, alt + click the stopwatch and write expression
1) loopOut - create shape in and animate going from bottom to half of the screen
then, create new exp. and type loopOut("offset"), the animation will continue till view diappears
then, create new exp. and type loopOut("offset"), the animation will continue till view diappears
2) index expression - create triangle in shape layer, click polystar - polystar path - type - points
create expr. and type index + 1
or click layer, hit R, and index + 60 - 60 will rotate each layer 60 degrees (if you have 6 layers)
create expr. and type index + 1
or click layer, hit R, and index + 60 - 60 will rotate each layer 60 degrees (if you have 6 layers)
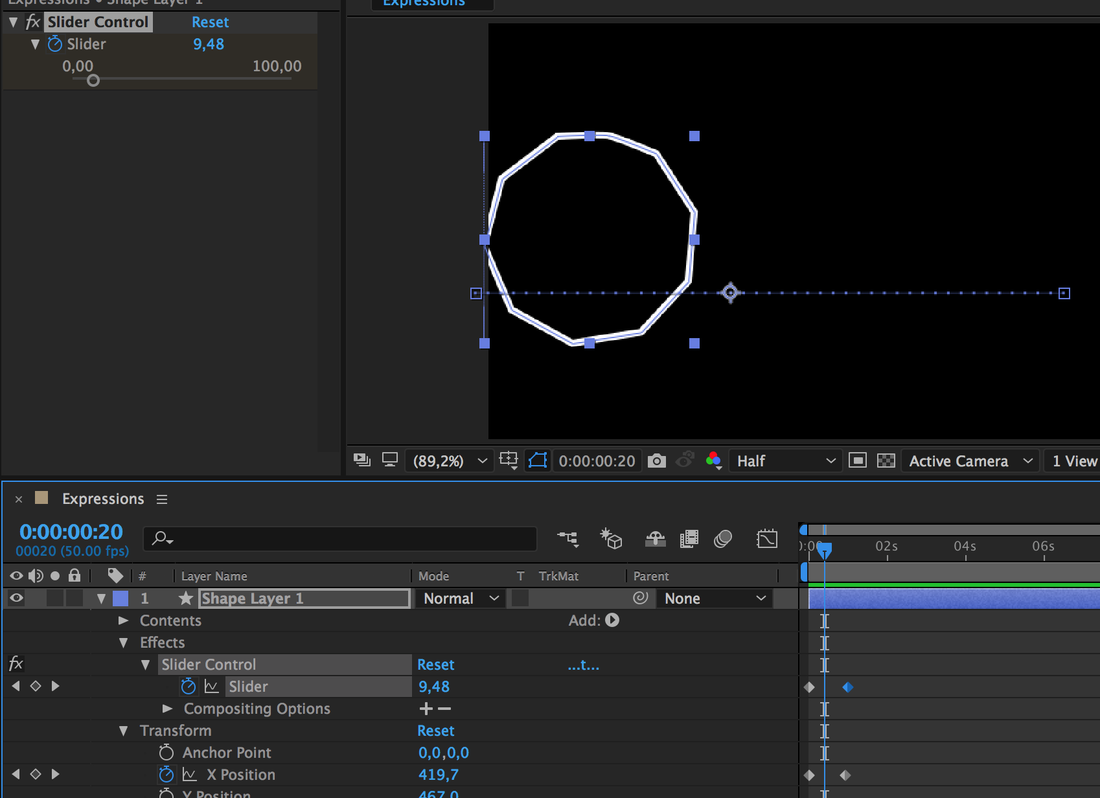
3) clamp expression - creat triangle, add Slider control, click polystar and points, alt click stopwatch near x value,
write clamp( and with pickwhip slider value)
clamp(effect("Slider Control")("Slider"), 0, 30)
You can now use keyframes with slider change number of points in the shape
Animate position from left to achieve great effect.
write clamp( and with pickwhip slider value)
clamp(effect("Slider Control")("Slider"), 0, 30)
You can now use keyframes with slider change number of points in the shape
Animate position from left to achieve great effect.
TRACKING
Simple motion tracking
1) Import footage and create new shape / text
2) Then create null object
3) select the clip -> Tracker -> Track motion (move the point to the contrast spot)
4) Click analyze forward
5) Select clip -> edit target -> select null -> apply
6) drag from the swirl button in the shape layer to the null object
(parent of the null must be footage and parent of the shape / text must be null)
3D Tracking
1) Import footage
2) select the clip -> Tracker -> Track camera
3) Tick "render track points checkbox"
4) right click desired point -> add text and camera
2) select the clip -> Tracker -> Track camera
3) Tick "render track points checkbox"
4) right click desired point -> add text and camera
Face color change
1) Create new adjustment layer
2) add mask to it (select the part of the face you want with pen tool (G))
3) move to the beginning -> Tracker -> track forward
4) drag black and white effect to the adjustment layer, feather mask it (to open mask properties, select layer, hit M M)
5) keyframe mask feather from 0 to desired intensity
Light beams between 2 fingers
1) Import footage of fingers with a dot by sharpee
2) Tracker -> Track motion button, move the track point to the dot on the finger (repeat for the second finger)
3) Create 2 new null objects
4) In tracker panel -> motion source (the clip)
5) Edit target (choose the null) -> apply -> OK
6) add new solid
7) Effect -> generate -> beam
8) alt + click the stopwatch in effects control to access expressions
9) drag from the "whip button" of the starting point to the position property of the null 5 object (repeat twice)

source: https://www.youtube.com/watch?v=RoVgNwDEhqM
SPECIAL EFFECTS
Disintegration effect
1) create 2 layers - one with the video, with you (top layer) and one without you (bottom layer)
2) select yourself with pen tool, hit M, feather mask, and play with expansion
3) apply CC Scaterize effect to the layer with you and animate it from 0 to 2000
2) select yourself with pen tool, hit M, feather mask, and play with expansion
3) apply CC Scaterize effect to the layer with you and animate it from 0 to 2000
Shield effect
1.1.2018
1) new new solid
2) Turbulent noise dynamic progressive
contrast: 96
brightness: 14
aninmate moving right to left
alt click evolution.. type in "time * 250"
3) effect -> perspective -> CC Sphere
Shading: ambient: 100, difusion: 0
Render: inside
4) select solid -> screen mode
5) Gaussian blur: 10, Vector blur: 70, constant length
6) Duplicate layers -> pre compose -> screen mode
7) Edit transparency blur
8) create 2 masks (left and bottom of the sphere) - feather
9) new adjustment layer -> displacement map -> apply to shield (68, 16)
10) animate scale (33 - 100 - 95) to create blend in effect
https://www.youtube.com/watch?v=E18fEH9wv4A&t=8s

Particle plugin
1) CC particle world and turn off grid,
2) physics -> animation -> direction axis
gravity: 0.05
effect -> generate -> fill
particles -> type -> faded sphere
2) physics -> animation -> direction axis
gravity: 0.05
effect -> generate -> fill
particles -> type -> faded sphere
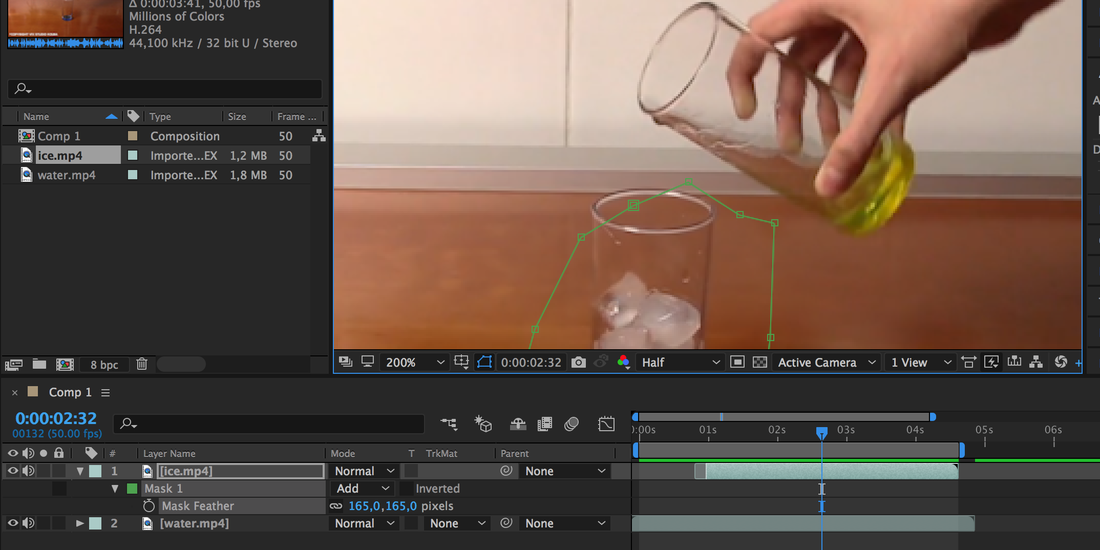
Water to ice
13.7.2018
1 - Import ice and water footage
2 - trim ice footage to the moment when water begins to flow
3 - with pen tool G mask the area of the glass (in the ice footage) and feather it
SOURCE: https://www.youtube.com/watch?v=EcVoxKXDPko
Video
1 - Import ice and water footage
2 - trim ice footage to the moment when water begins to flow
3 - with pen tool G mask the area of the glass (in the ice footage) and feather it
SOURCE: https://www.youtube.com/watch?v=EcVoxKXDPko
Video